Virtual Keyboard
So far, we've learned a few ways to perform actions with Semanux Access that you would normally do with a mouse (for example: Mouse Click, Scroll, and Drag-and-Drop or clicking with direct actions). To fully operate a computer, we also need to be able to write text. For this, there is the virtual keyboard.
Activate the action Type in the panel with the trace:

This opens the virtual keyboard:

The virtual keyboard offers many functions that we will describe below. When you are done, you can close the keyboard with the Close-button:
To type a letter, simply hold the trace over a letter button for a moment until the button is activated with dwell time.
Did you just try to type a letter, but nothing happened? Make sure you have also opened and selected a text field. For example, you can open a text document or open your browser and click on the address bar.
Since selecting the letter buttons also happens with dwell time, you can set whether you want to type faster or slower (see Settings: Dwell Time).
If you are using a preset with direct actions, you can also use these to select the letter buttons. Express mode and precision mode can help you hit exactly the letters you want to type.
To type uppercase letters, first activate the ⇧ button (called: Shift key):
The keyboard then switches to uppercase letters:

You can make a space with the ␣ button (called: Space bar):
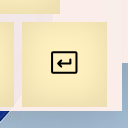
You can start a new line with the ⏎ button (called: Enter key):
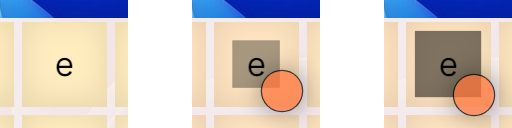
If you made a typo, you can delete letters with the following buttons (called: Backspace):
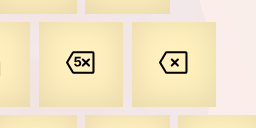
The x button (right in the image) always deletes the last letter, while the 5x button (left) deletes the last 5 letters.
Do you want to type in a language other than the one you selected for Semanux Access? You can set a different language for the virtual keyboard layout (see Settings: Virtual Keyboard).
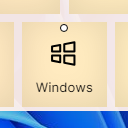
In the lower-left corner of the keyboard, you will find buttons for the special keys Control, Alt, and Windows:

When you select one of these buttons, you don’t type a letter, instead, the button stays activated. For example, the activated Windows button looks like this:
Now, when you activate a letter, you perform a so-called keyboard shortcut. Many combinations of special keys and letters have individual functions, depending on which operating system you are using. For example, on Microsoft Windows, the shortcut ⊞ Win + E (i.e., activated Windows button and then type e) opens the file explorer.
If you select an activated button again, it would be like pressing and releasing the corresponding key on a physical keyboard. For example, on Microsoft Windows, if you first activate the Windows button and then select it again, the start menu opens.
While you type, suggestions for word completions are displayed on the left side of the keyboard:
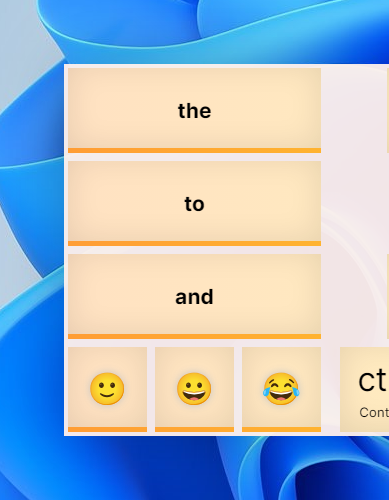
For example: If you have already typed p, i, and z, "Pizza" appears on the left. You probably know a similar function from your phone.
You can activate word suggestions just like individual letters.
Below the word suggestions, emojis are also displayed that match what you are currently typing. You can also select and type these just like normal letters.
Sometimes the virtual keyboard can block your view of other programs.
For example, the virtual keyboard is displayed in the lower half of the screen when you open it for the first time. If you now have a text document open and are writing a whole page, the virtual keyboard will probably cover the lower part of the page.
With the Align button, the keyboard is automatically moved to the other half of the screen:
If it is currently at the bottom, it will then be at the top—and vice versa. This way, you can always make room to see what you want to see.
With the More button, you can access additional views of the virtual keyboard, each with individual functions:
- Function Keys
This view opens after you have selected More:
Here you will find buttons for the Escape key, the Arrow keys, the F1 to F12 keys, media functions like Volume up/Volume down, Forward/Back or Brighter/Darker, and some others.
Additionally, there are the buttons Numerics, Symbolics, and Emojis, with which you can access further views. - Numerics
This view opens after you have selected Numerics:
Here you will find buttons for digits, some mathematical symbols like + and −, as well as common currency symbols like € and $. - Symbolics
This view opens after you have selected Symbolics:
Here you will find buttons for symbols or special characters. - Emojis
This view opens after you have selected Emojis:
Here you will find buttons for some emojis or smileys. With the > button, you can access even more.